PhoneGap-Shell-V2
Description
Version 2 of the PhoneGap-Shell template. Create a UX Component that can be used to test changes to a mobile app without needing to republish the application using Cordova CLI after every change. The PhoneGap-Shell-V2 supports multiple server addresses as well provides a way to see what plugins are installed.
Discussion
Key benefits of using the V2 shell include:
- Cleaner look - Achieved by using ControlBars to implement the shell component
- Full screen when running app - The Back and Previous buttons are hidden by default and are shown on demand by tapping on a small icon in the lower right corner of the screen.
- Multiple server address - Use the same shell with multiple servers. If you use the older template version of Cordova shell (PhoneGap-Shell), you have to build a shell for each server as the server address is hard coded into the shell. PhoneGap-Shell-V2 allows you to specify as many server addresses as you want and select which address should be active.
- Test server address - Server addresses can be tested to verify they are valid. It is important to know if you have specified a valid server address or else the shell will not be able to load components.
- Edit component names - After you enter a component name, you can edit the value. In the old shell template (PhoneGap-Shell) you cannot edit values.
- Scan values when filling in forms - The shell has two forms that need to be filled in - when adding a new component, and when defining a new server address. In both of these forms you can press a Scan button to scan a QR code that encodes the value to be entered into the form. To create the QR codes, go to the UX component, Click the Menu button and select the PhoneGap shell QR codes... menu item.
- See list of PhoneGap plugins - The Settings screen menu allows you to select a command that shows the list of plugins that the shell has loaded.
- Android back button support - Full support for the Android Back button. For example, if you press the back button while on the screen that shows your running component, you will return the shell home page.
The Cordova Shell allows you to easily and quickly test UX components without having to go through the time-consuming process of building your application using Cordova CLI or Ionic Appflow.
Testing an App Using PhoneGap-Shell-V2
Once you have installed the Cordova Shell on a device, a UX Component running under Cordova can be loaded and tested in the shell. This is done as follows:
Publish the UX Component to your server
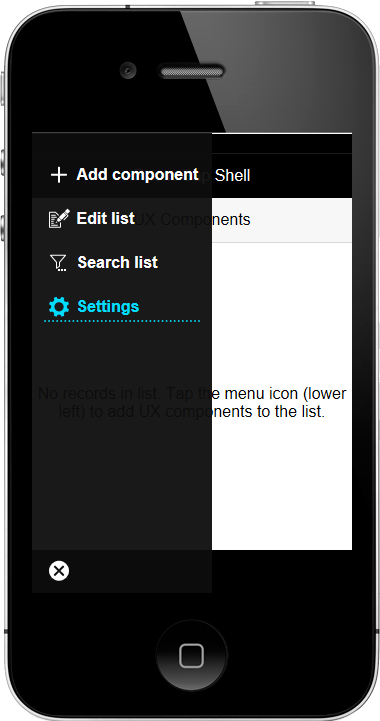
Add the component name to the List on the Home page of the Cordova shell
Tap on the row in the List to dynamically load your UX component into the Cordova shell.
How to Generate a Server Address Cordova Shell QR Code
On the Controls pane in the UX Builder, open the Show additional options menu and select PhoneGap Shell QR Codes... from the list of options.
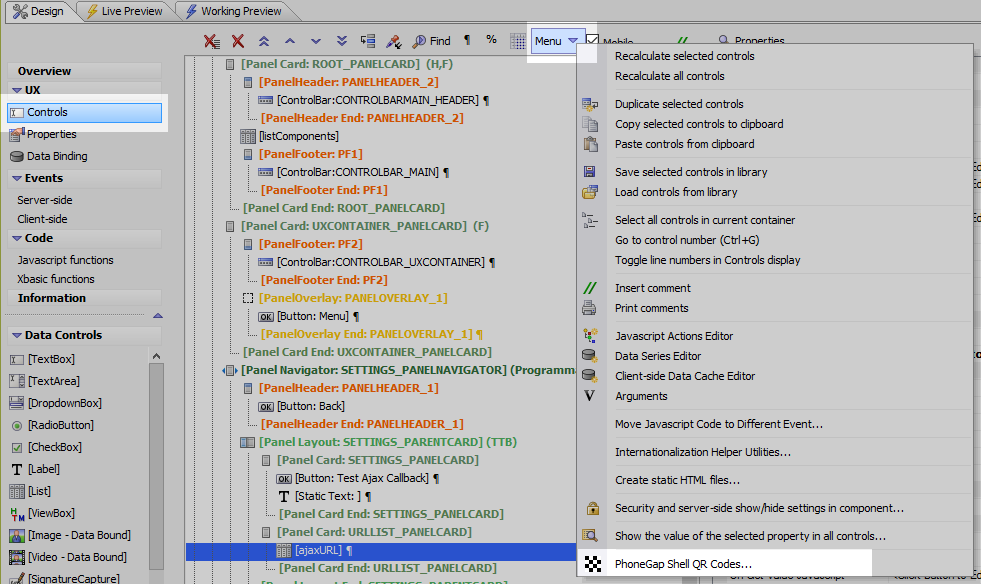
When prompted, choose Server Address from the popup menu.
If generating a QR Code for a Server Address, enter the URL and a short description of the URL in the URL for Ajax Callbacks dialog. The URL is the URL to the server where the published application resides. For example:
https://www.myapp.com/folderWhereAppWasPublished/

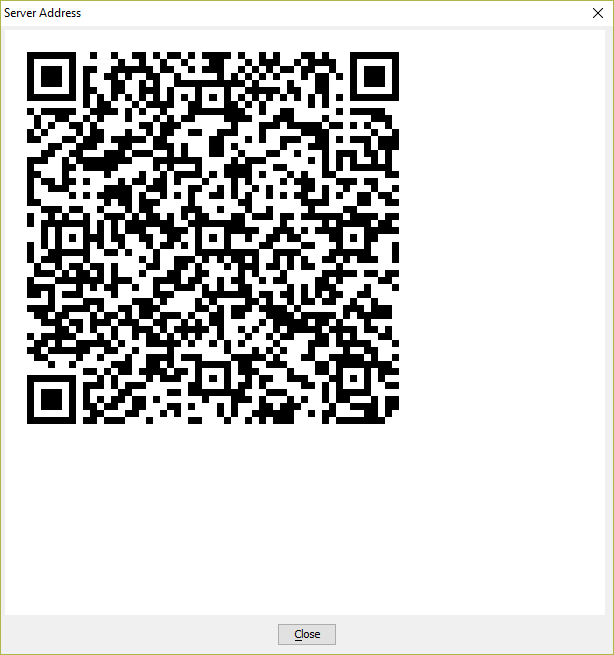
Click OK to generate the QR Code. Scan the QR Code using the QR Code scanner in the Cordova Shell app installed on a mobile device.
How to Scan a QR Code from the Cordova Shell to add a Server Address
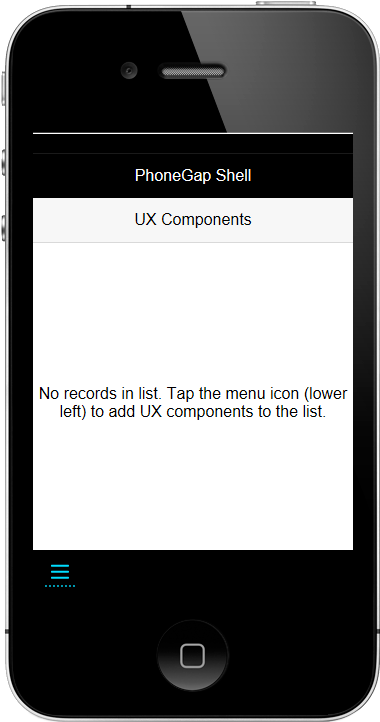
In the Cordova Shell V2 app installed on the mobile device, open the QR Code Scanner to scan the Server Address. On the main page of the shell, click the menu button in the footer to open the menu on the home page.
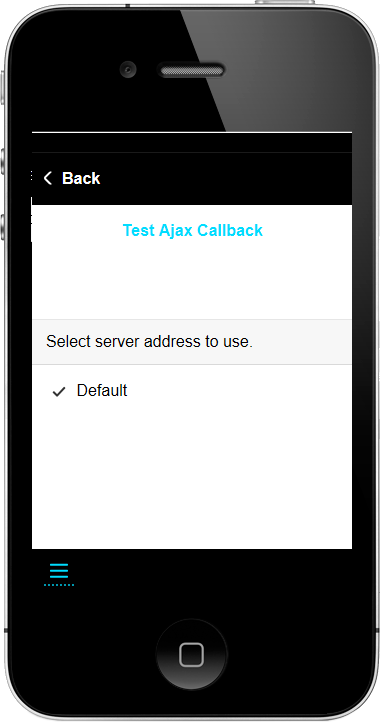
Select Settings from the menu.
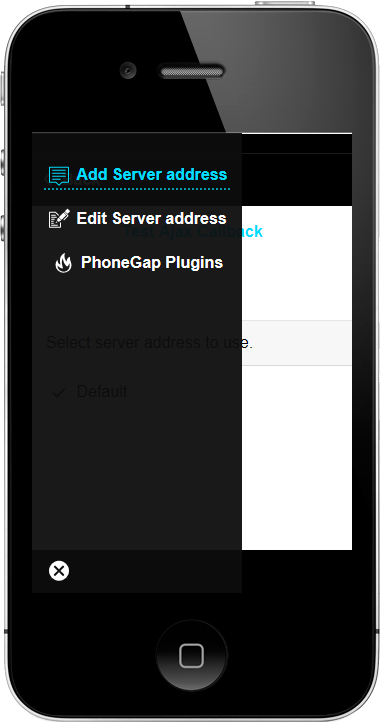
Click the menu button in the footer on the Settings pane to open the settings menu.
Click Add Server address to add a server address.
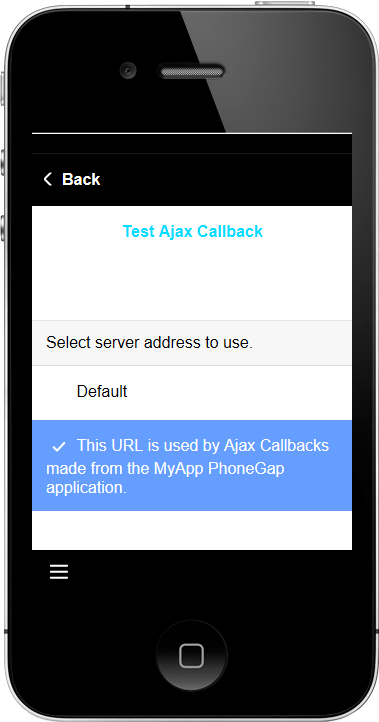
Click the Scan button to open the QR Code scanner.

Scan the QR Code generated by Alpha Anywhere. Click OK to save the URL once it is loaded by the QR Code scanner.
How to Reposition the Overlay Button
The position of the overlay icon shown when running a UX component in the Cordova shell can be adjusted. The overlay button is shown bottom right by default. If the button obscures part of the UX that needs to be tested, it can be moved. To move the button, click the overlay button to show the bottom toolbar and then select the menu icon (left hand button).
A dialog will be displayed with options to change the overlay position.
Limitations
Cordova Applications Only